How to Paint a White Dog Part 1
Mar 08, 2019
So you want to paint your white dog?
Updated on December 11, 2023 : Read below to learn 10 tips and tricks from a professional oil painter who has painted a few.
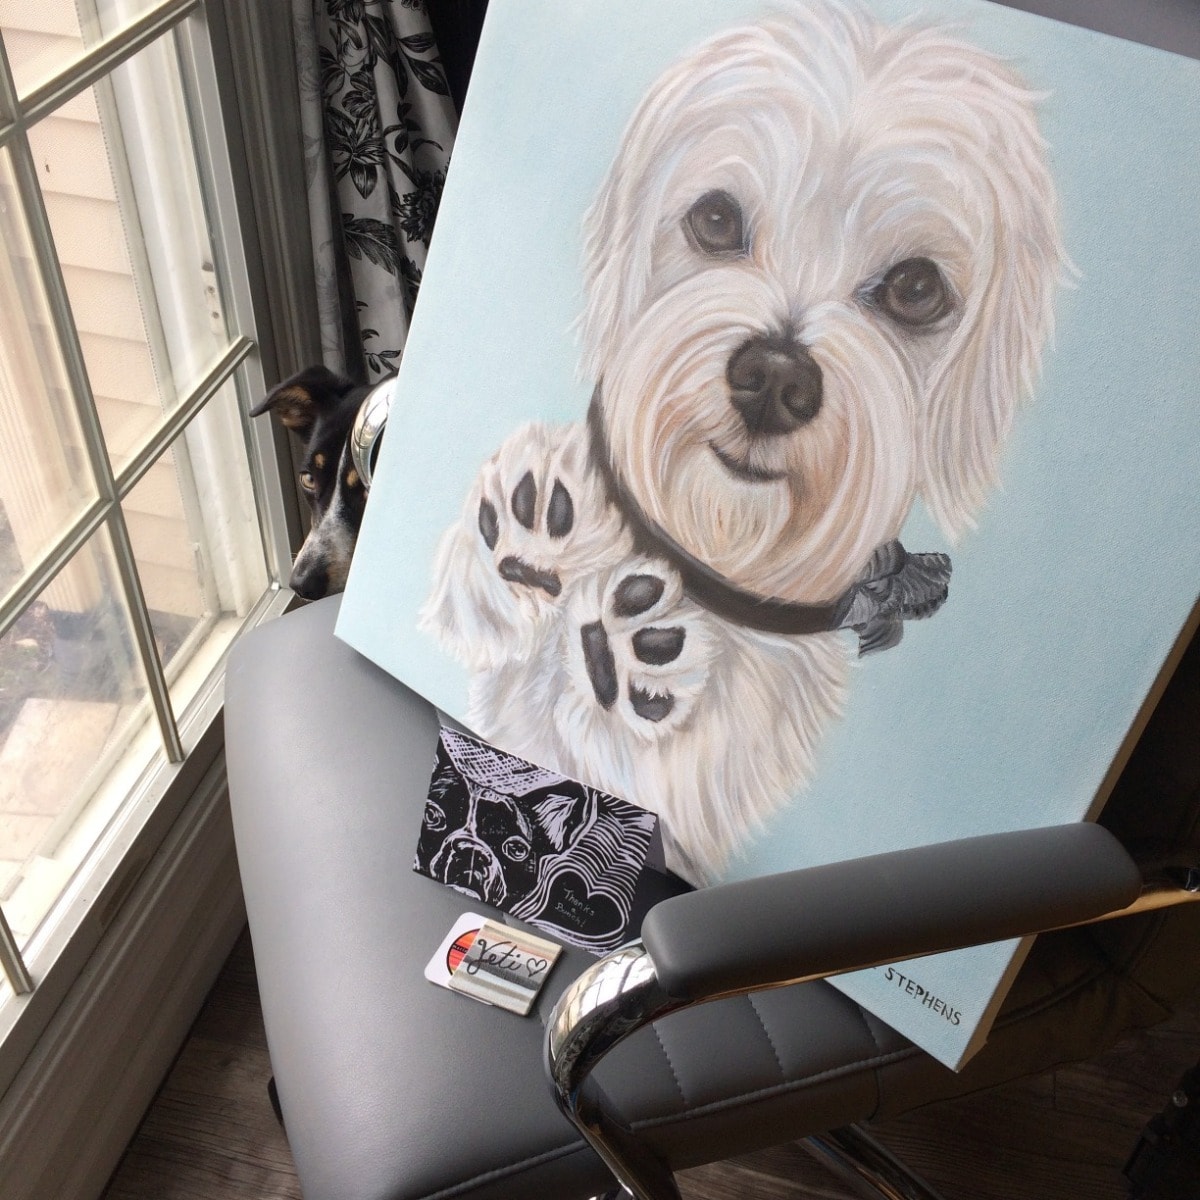
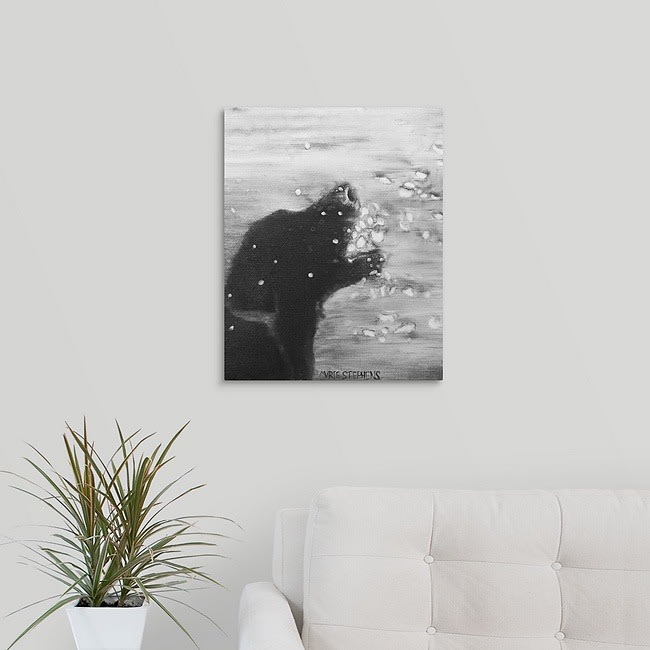
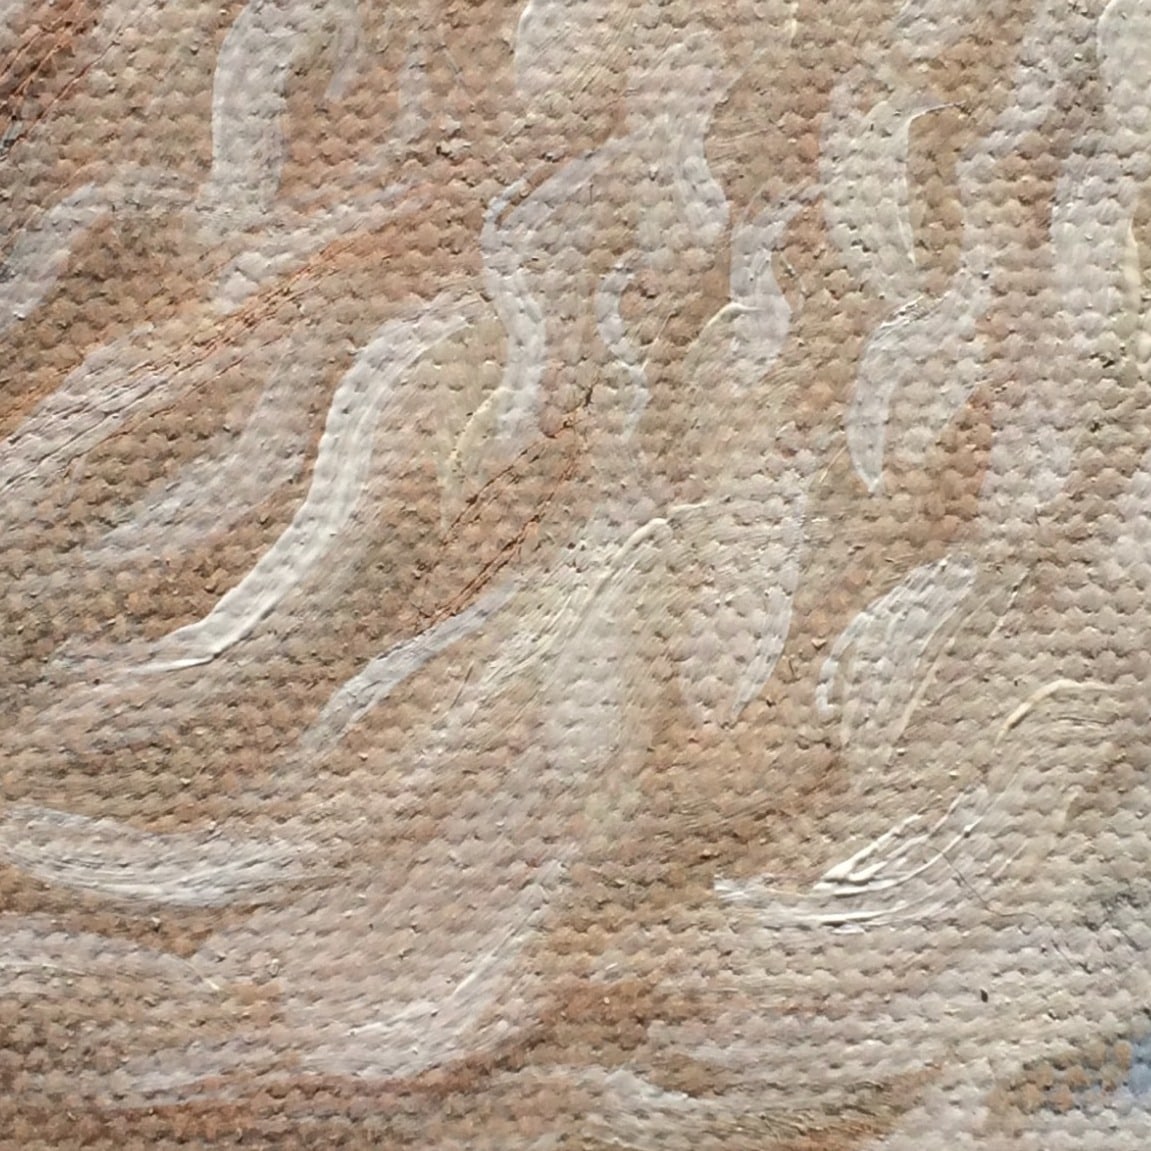
Gallery Wrapped Canvas 1.75 Inches Depth
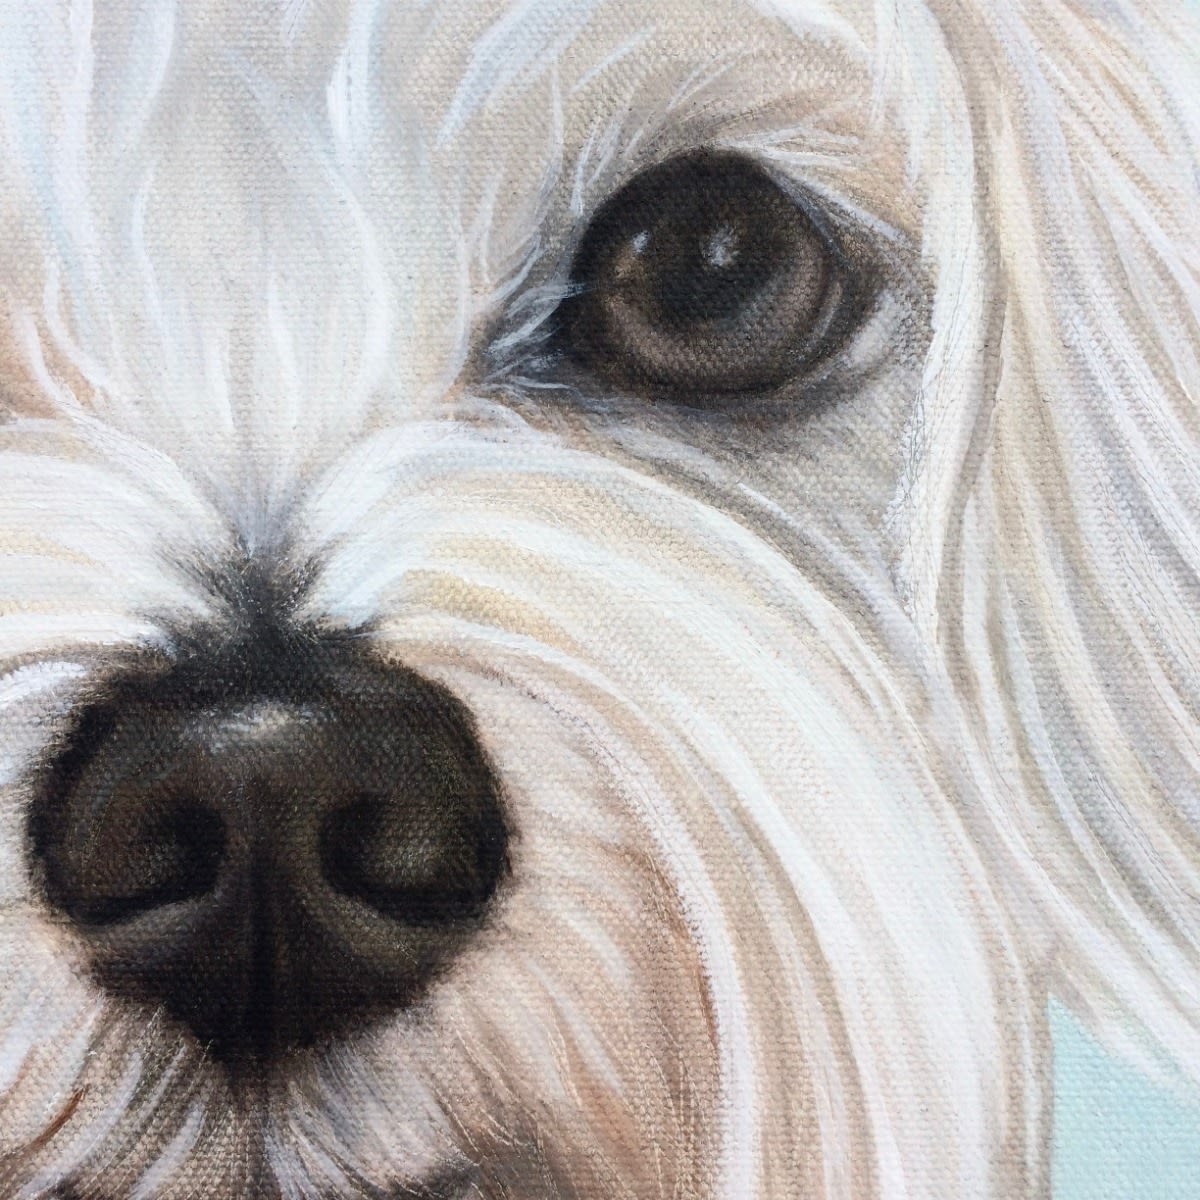
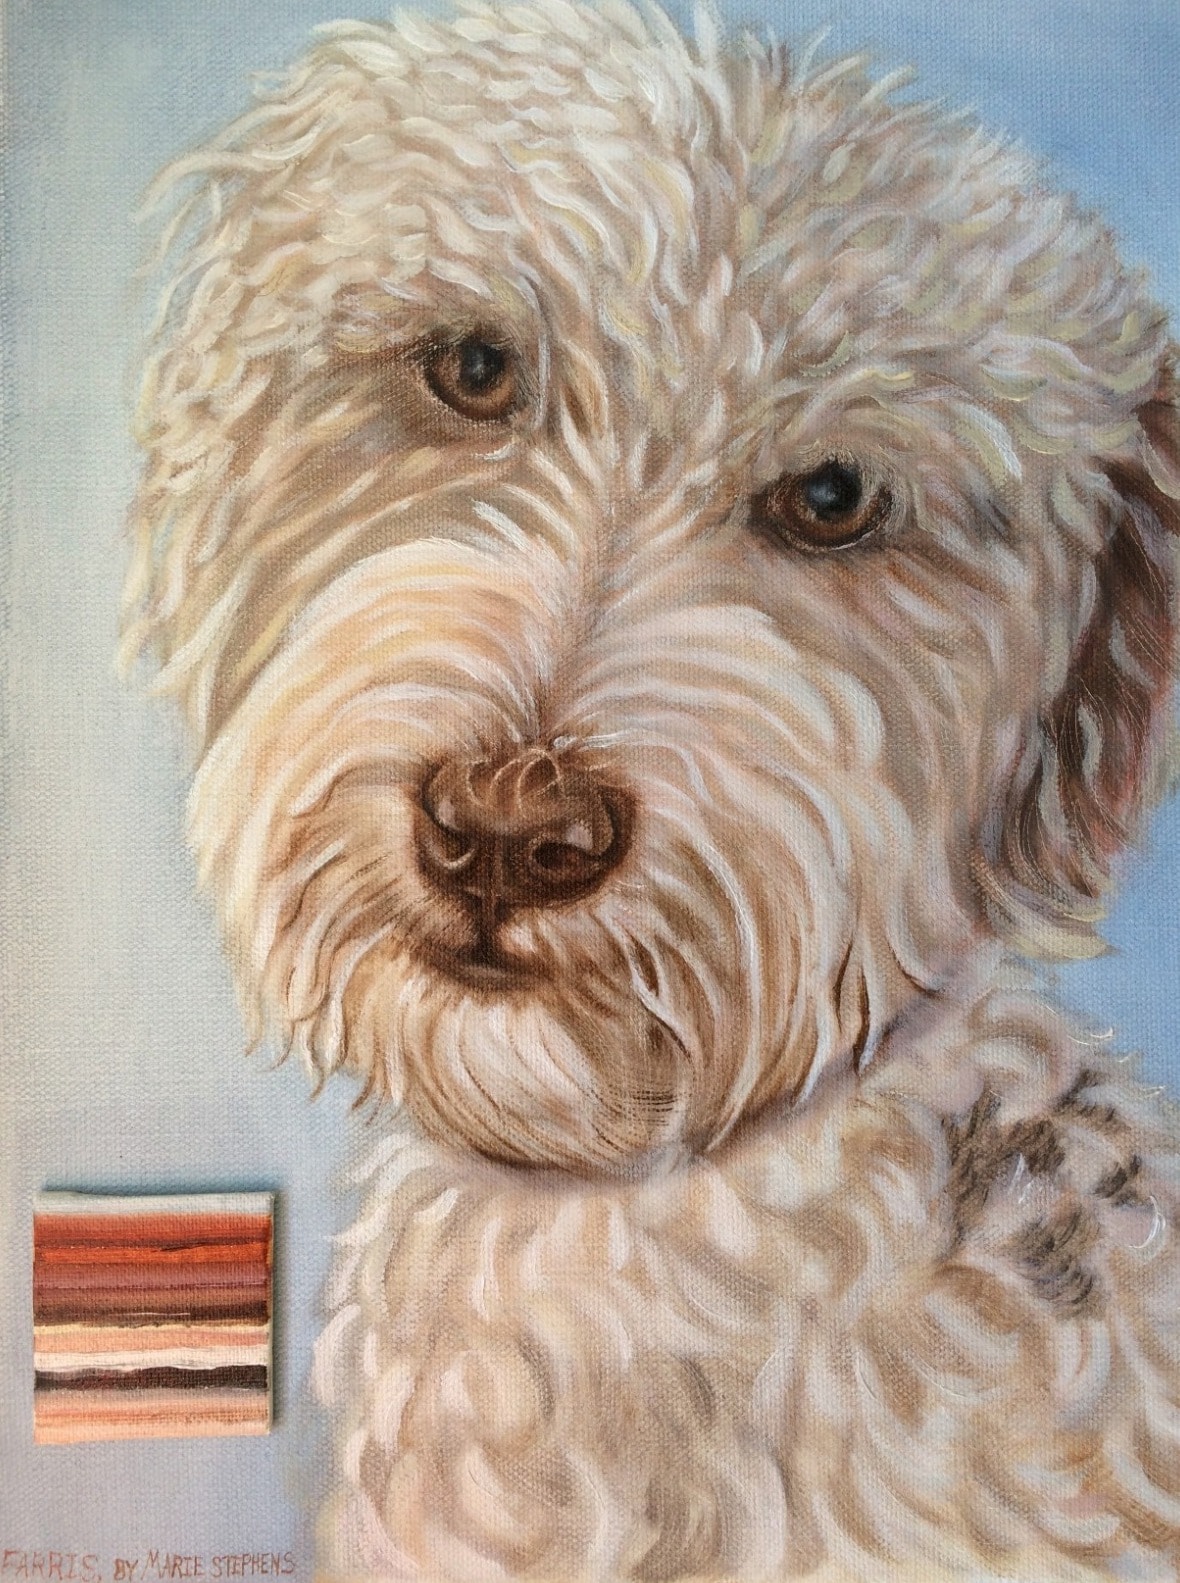
Close up detail.
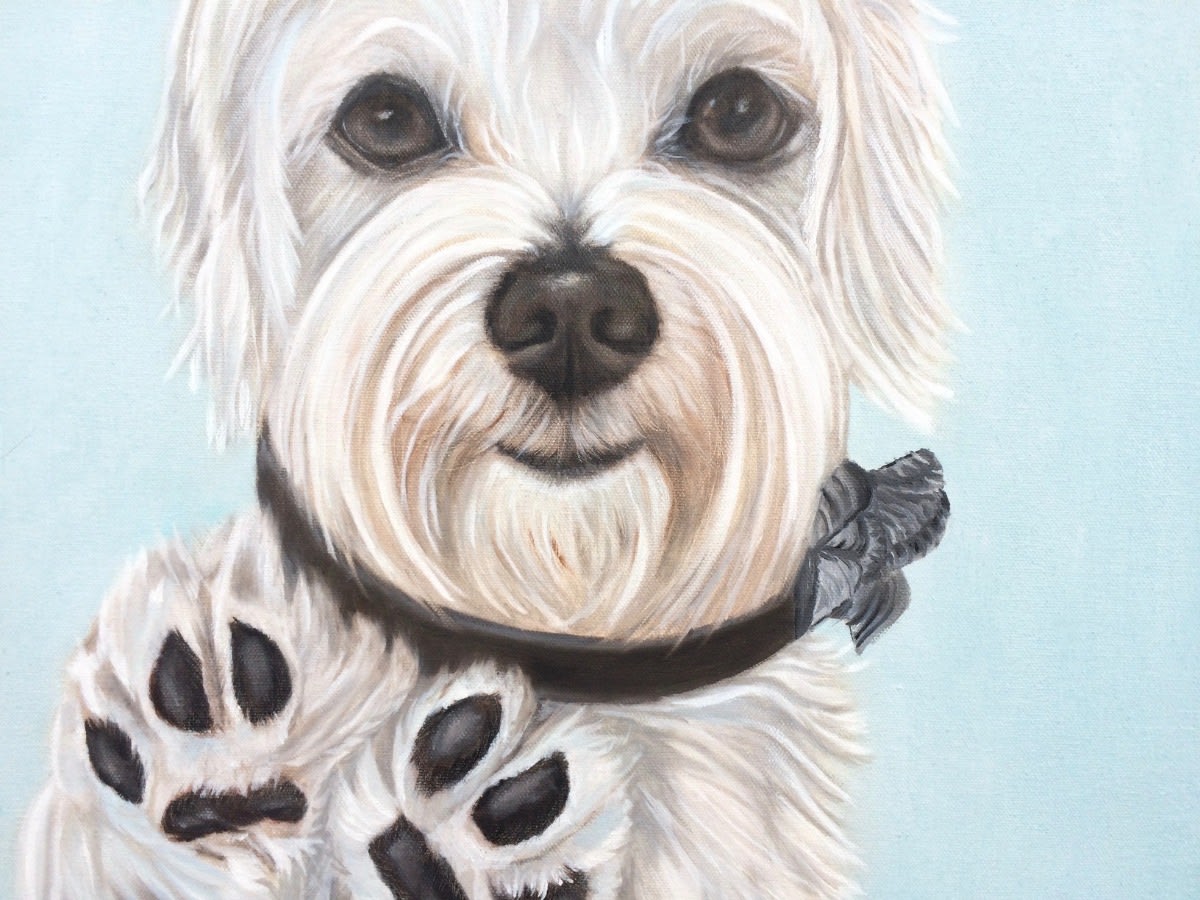
A Beautiful White Havanese!
But First, You might need art Supplies.
Help Support my Blog by ordering via my affiliate links with Amazon. When I share painting tips with art lovers like you, naturally my blog posts may contain affiliate links for products I use and love. If you take action (i.e. make a purchase) after clicking one of these links, I may earn money that allows me to keep creating useful and informative art related content like this.
Materials List to Make an Oil Painting of Your Dog
The blue highlighted words below are links to products I found on Amazon
PAINT SOLVENT MEDIUM
solvent is for thinning oi paint and cleaning it off your brushes, medium is an additive to your paint for achieving different effects.
10 Things You Should Know About Painting White Fur:
#1Paint in Layers
It's not as easy as it looks, but I believe in you! You can do it!
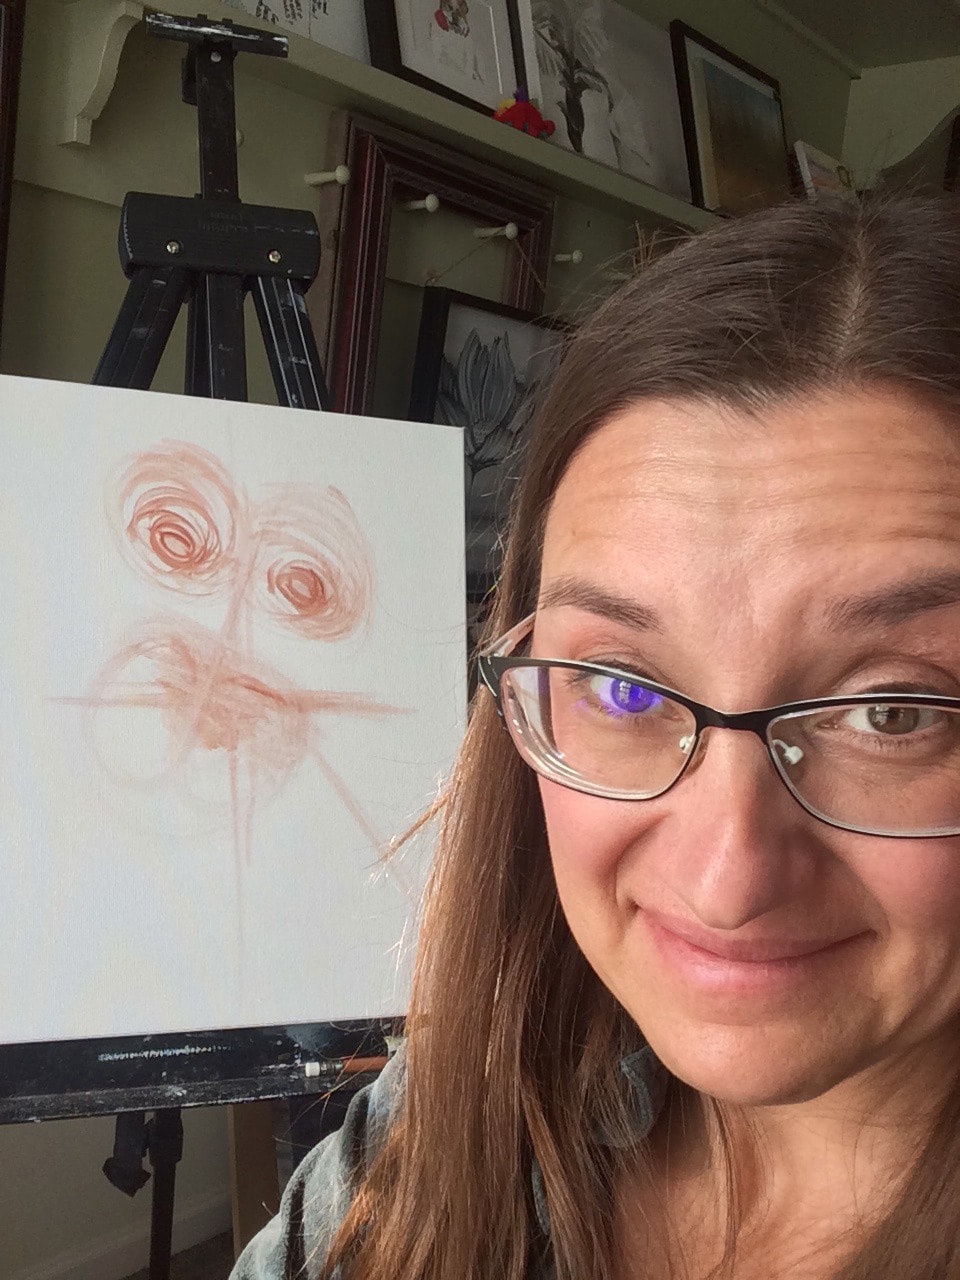
If white fur was all one color....you wouldn't be able to see the dog on the canvas!
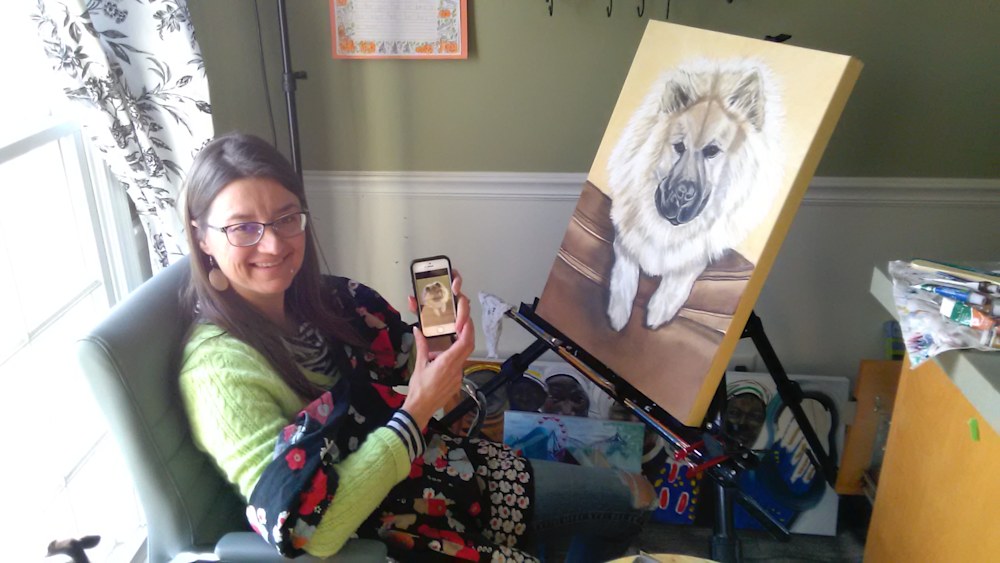
There are many colors, layers of paint, and varying thicknesses of paint involved in the painting (mid project) shown here.
Did You Know I Sell Dog Breed Stickers?
Simple, Yet Personal Gifts
My Kiss-Cut Vinyl Sticker art can be placed on anything from cars
to notebooks and can be easily removed and re-stuck anywhere.
#2 Coat of many Colors
While not easy, painting a white dog portrait is totally doable. It just takes a little time to learn some basic art concepts and observation of your dog's fur and undercoat.
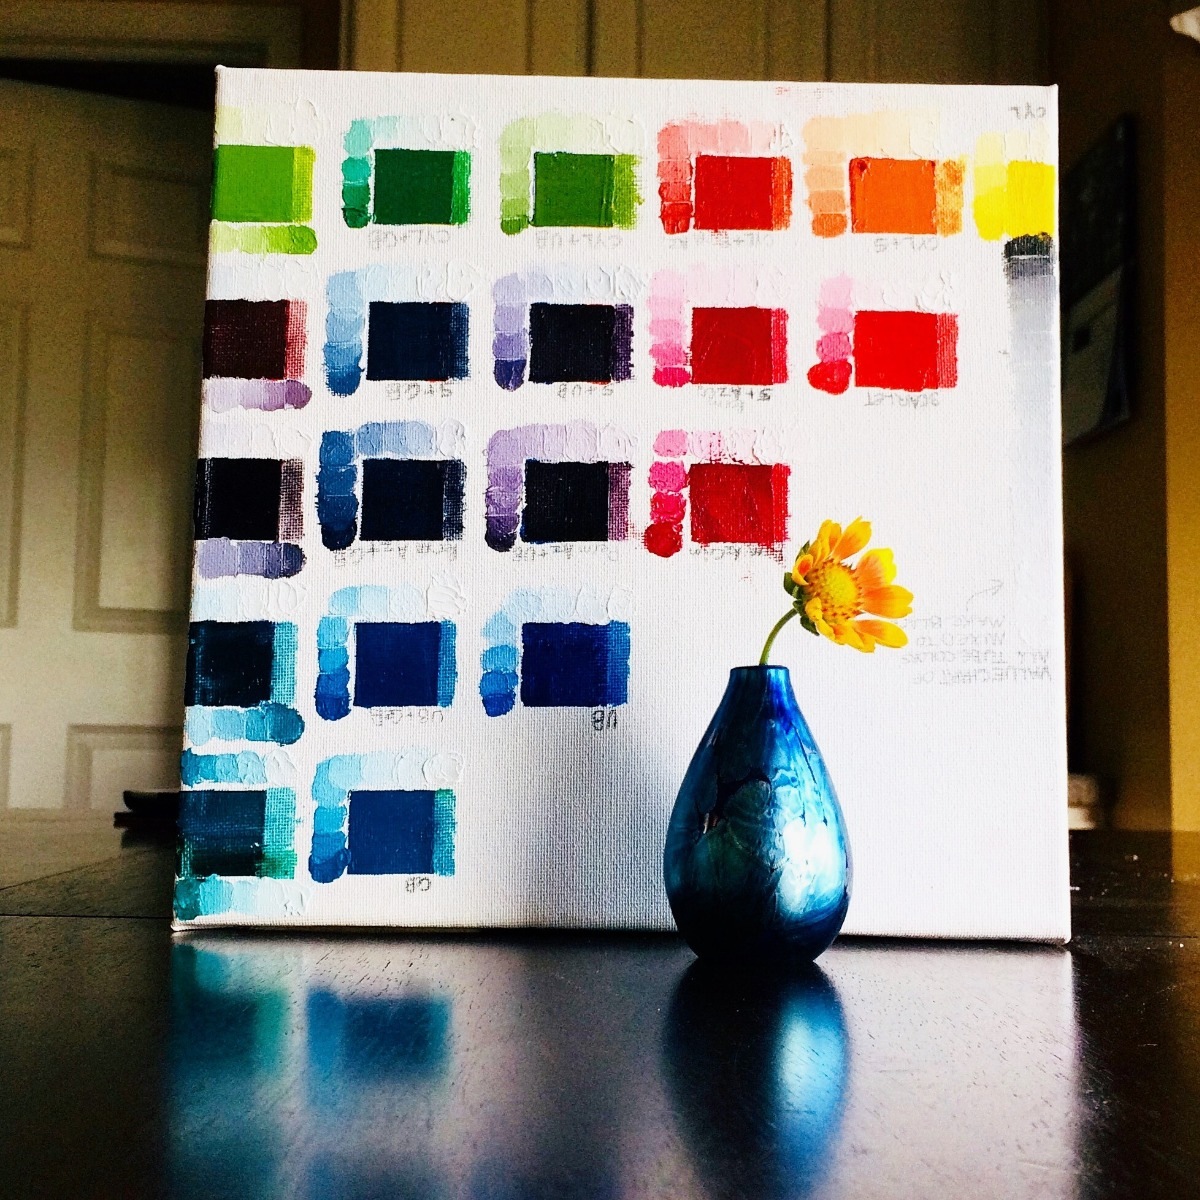
First and foremost....You need more than just white! That tiny canvas pictured next to Farris here, shows all the colors I used in creating this dog portrait. Isn't that crazy?
Order a Print of Your Favorite Dog Breed

Great Dane
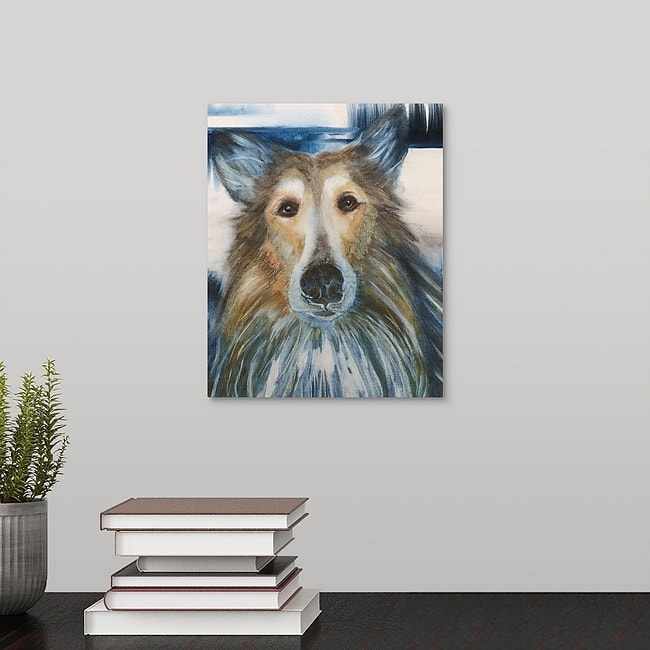
Collie
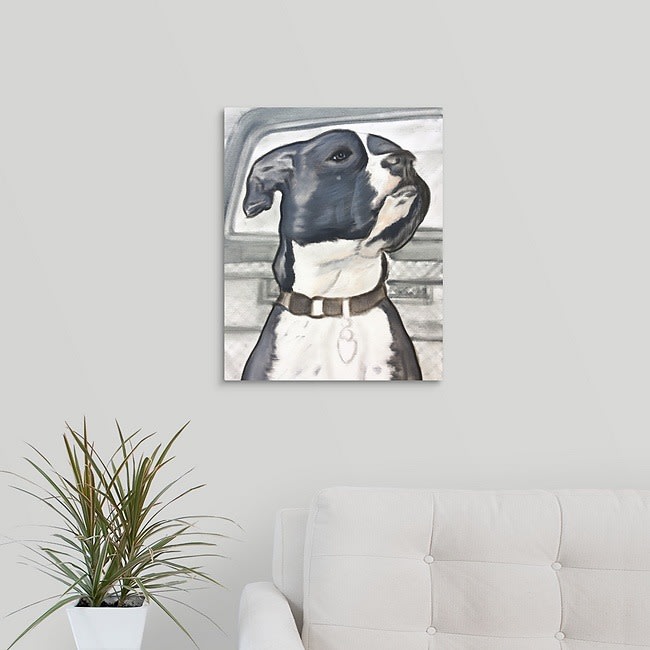
Pit Bull
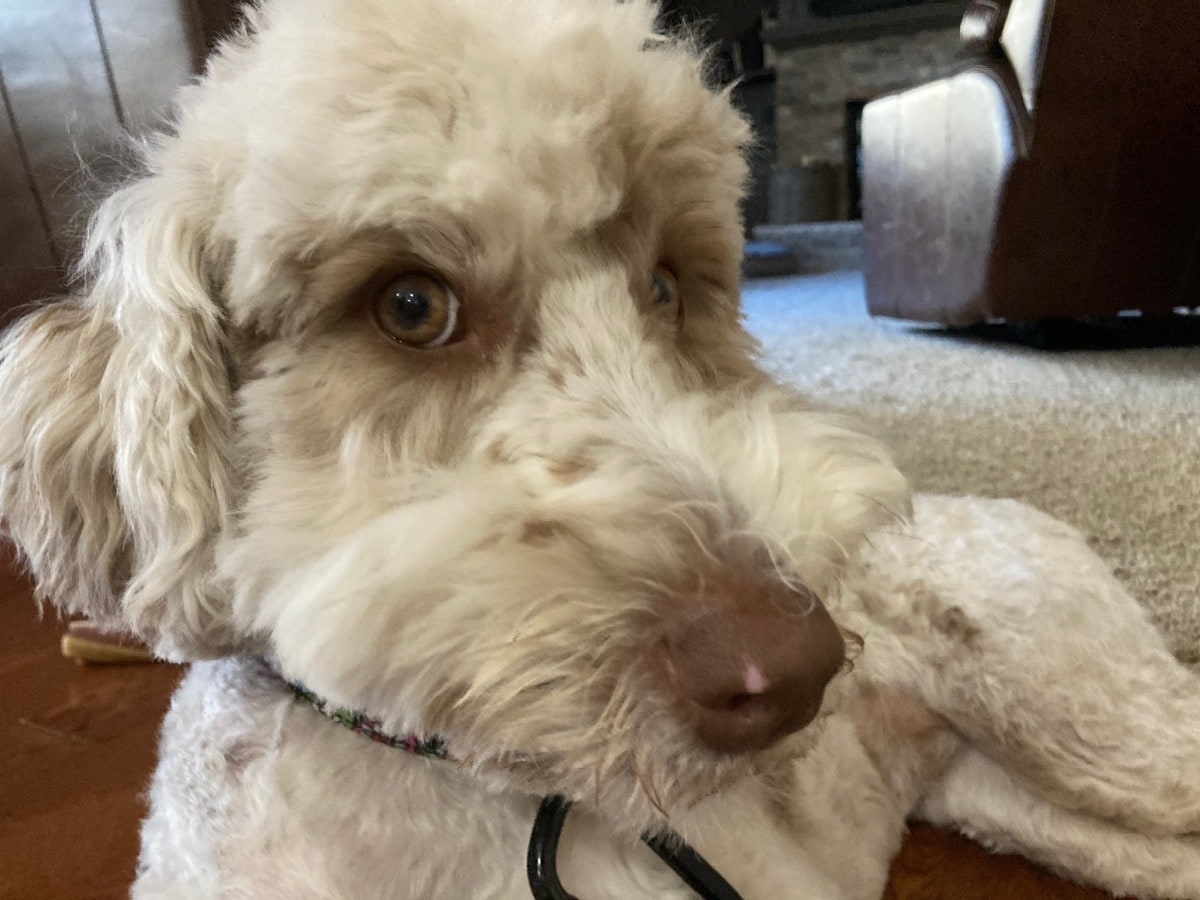
#3 Paint Undercoat first
If you have a white dog, look at the furry fuzzy under coat and see what color that is before you begin painting. You will be surprised to find that it's not usually white under there. Usually more pink or gray or a taupe color. (This is the color you should start with for your first layer of paint.)A quick way to find out, (not always though) is to look around the corners of your dog's eyes, and the back side of the top of the nose on their snout. In the picture to the left, you can see that it's sort of a pinkish burnt sienna.
Water Dog
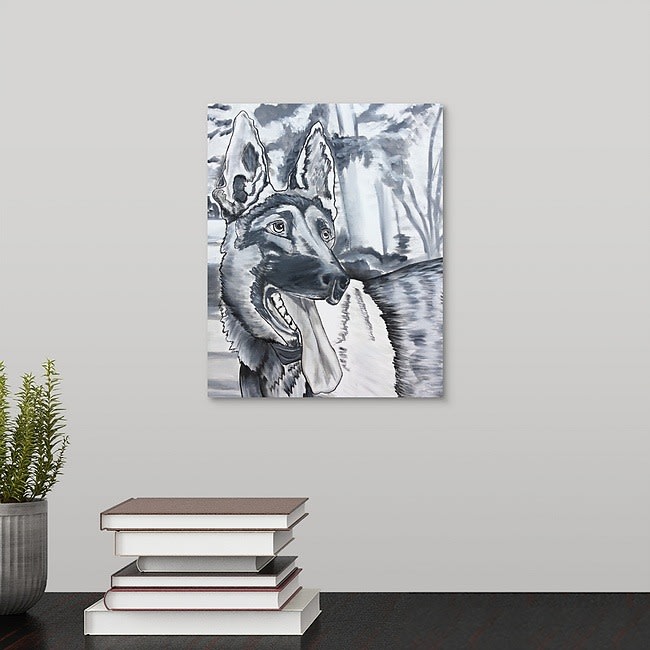
German Shepherd
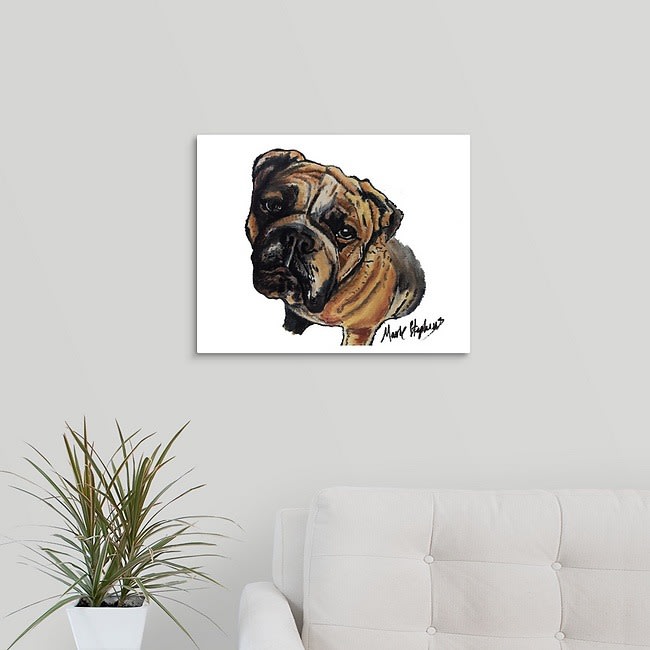
Bulldog
#4 Understand values
Value...what is it and what does it have to do with painting a white dog?
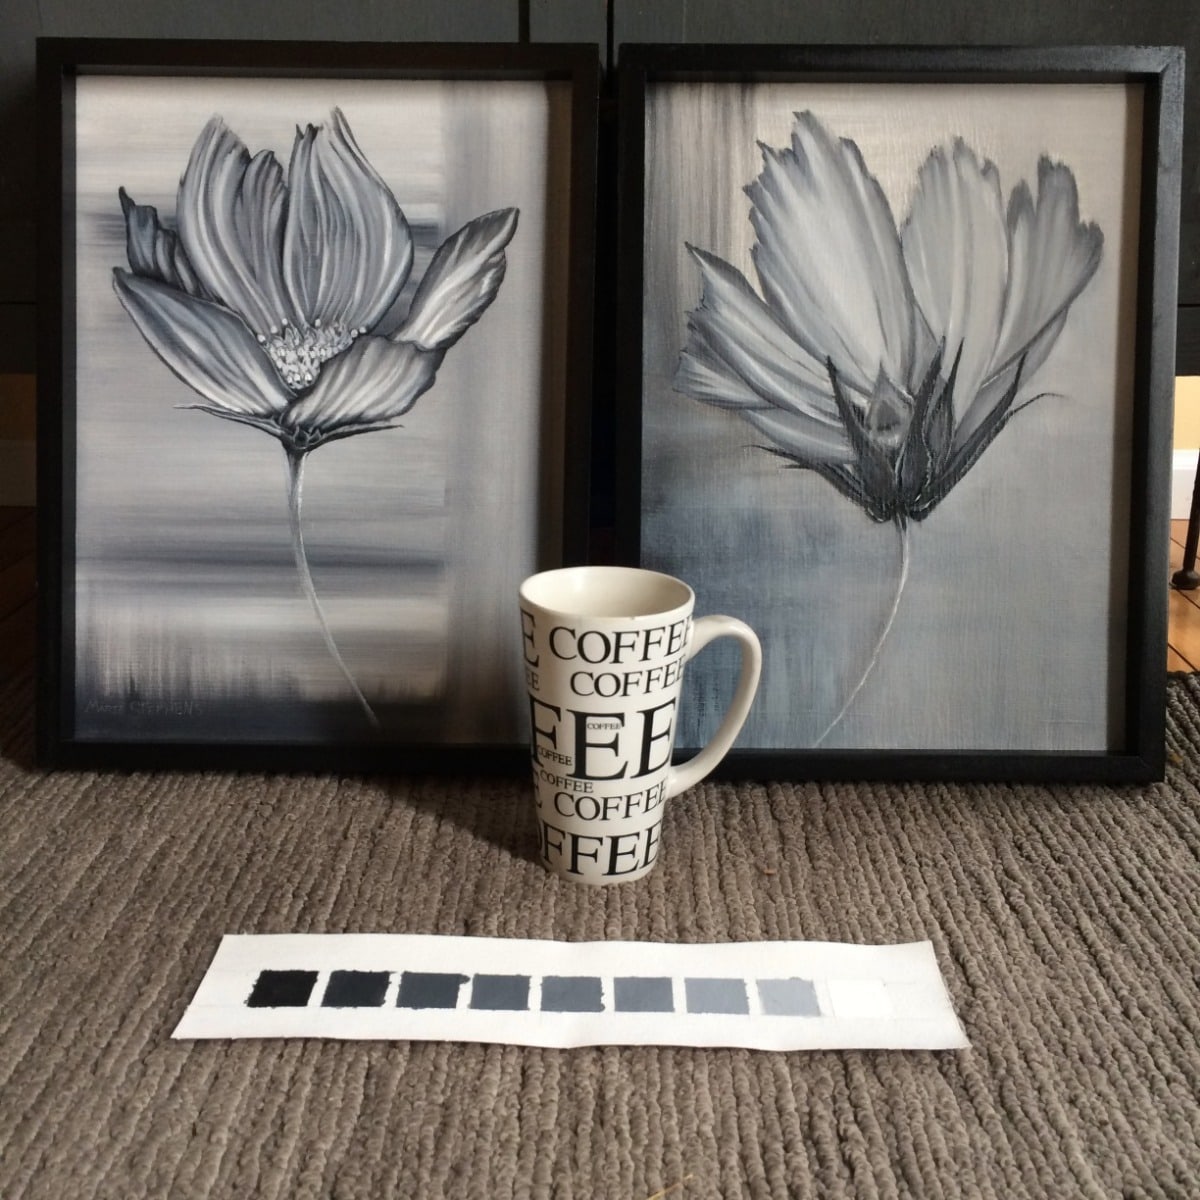
Value is how light or dark a color is. Usually, with one color, you can create about 10 values by adding varying amounts of white to the colorWhite fur comprises a multitude of values depending on the light shining on it, and the environment around it.
Pictured left: an example that shows larger squares(the pure color or mix).
On the top and left sides of each large square are some smaller splotches. Those colors represent the various values of that color when you add various amounts of white to that color.
On the right side of each large square is a row of splotches that show what the pure color looks like when you dilute the paint (if it's oil paint...diluted with paint thinner, if it's acrylic paint, diluted with water.
I hope this helps show what I mean by values.
#5 Painting light and Shadow
The shadowy areas of a white fur coat will be a mixture of the color of the fur itself, light from above, and the color of the ground below....in theory. So if you took a picture of your dog with a blue light flash from the camera, and the floor is a reddish brownish color, then the shadows might be a really light lavendary color...as red and blue make purple. Still white, but tinted with a lavender gray color.

#6 White is Last
AVOID PURE WHITE by itself UNTIL THE VERY END!!!!! When painting a white dog, sketch it on your canvas, prep the canvas, and try to save pure white for only the very end of the project.
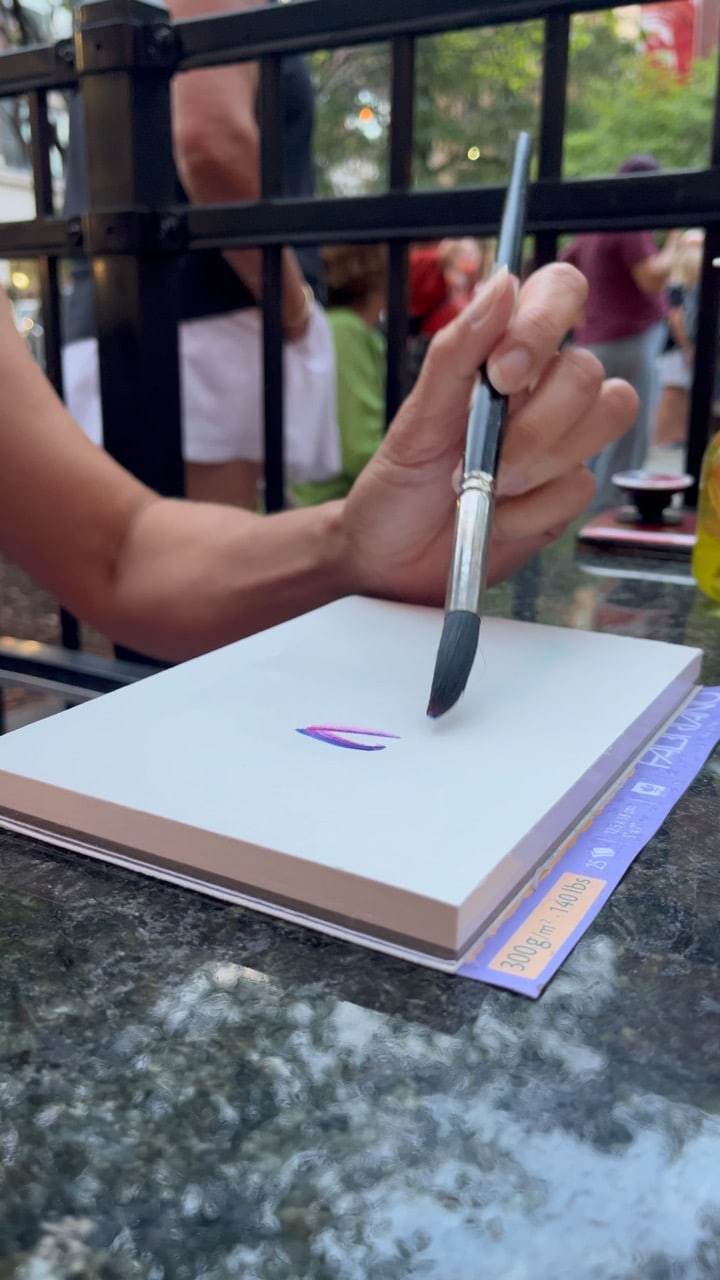
#7 begin with basic shapes
When your canvas is ready, paint the basic shape of the dog first, using the color of your dog's undercoat.
In the example to the left, I used burnt sienna, with no white. I diluted it with paint thinner so that it was more like watercolor consistency, that makes it easier to erase and adjust with a rag dipped in paint thinner. I also just dip the rag in the diluted paint and do basic strokes with a wadded up rag. The straight lines shown here help me establish angles of the face and act as guidelines for aligning the facial features.
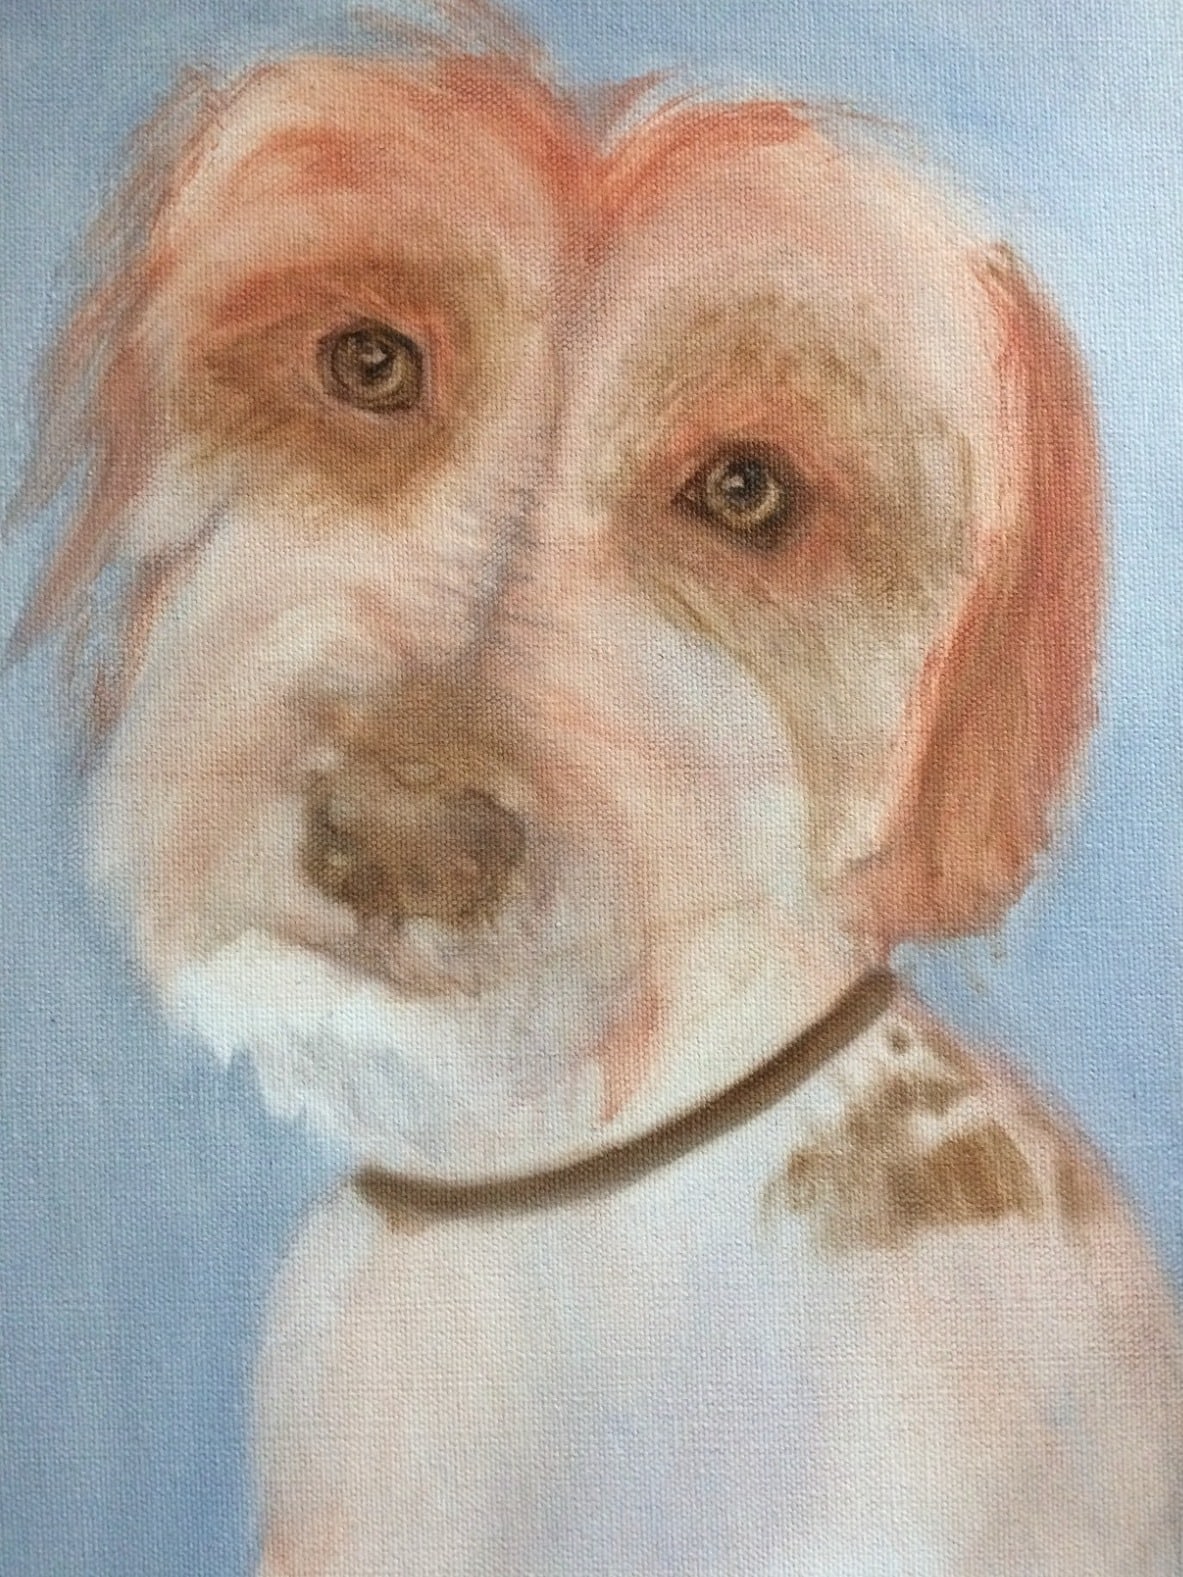
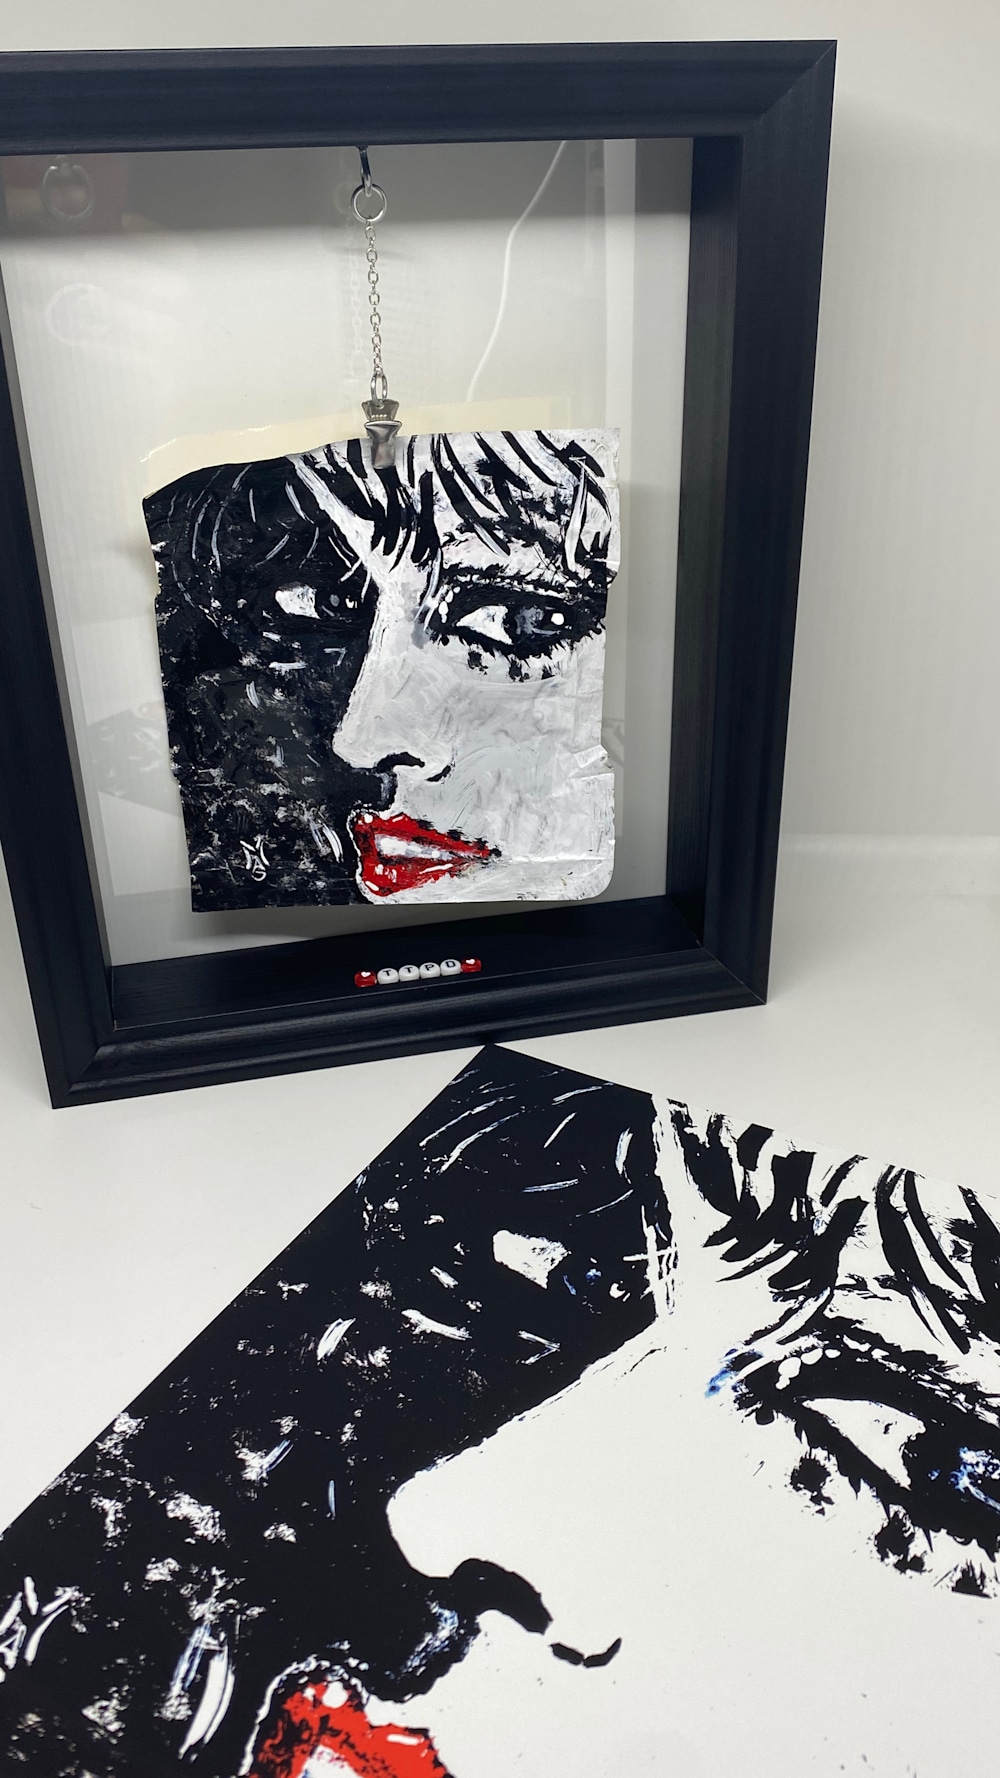
#8 More layers= More depth
Build up layers of colors in various values to give the fur depth and interest.
In the example to the left, I have not used white yet. Only colors like burnt sienna and burnt umber, and possibly, if I remember correctly, a smidge of yellow ochre. The lighter and darker color values within each color shown, were achieved by adding varying amounts of paint thinner (just drops of it) to the paint on my palette, and mixing there before adding to the canvas.
#9 Again with the Values!
What are values again?
Value is how light or dark a color is. Usually, with one color, you can create about 10 values by adding varying amounts of white to the color.

#10 Have fun!
Painting with oils, especially dogs, is a lot of fun! Try to remember though, to start out with super thin layers in the beginning, and build them up as you go. You can use this same layering idea with acrylics, gouache.
There are many more things to think about, but the most important thing is to experiment, be okay with making mistakes(that is how you learn), and practice, practice, practice....and remember that it is only paint. You can always let it dry, and paint over it if you don't like it!
Also I highly recommend taking a class or watching a few video tutorials just to see how other artists do it. Every artist has their own way of doing things, and it's ok to shop around until you find one that you feel like you can understand their teaching style.
getting started
A few things to do before you open your tubes of oil paints.
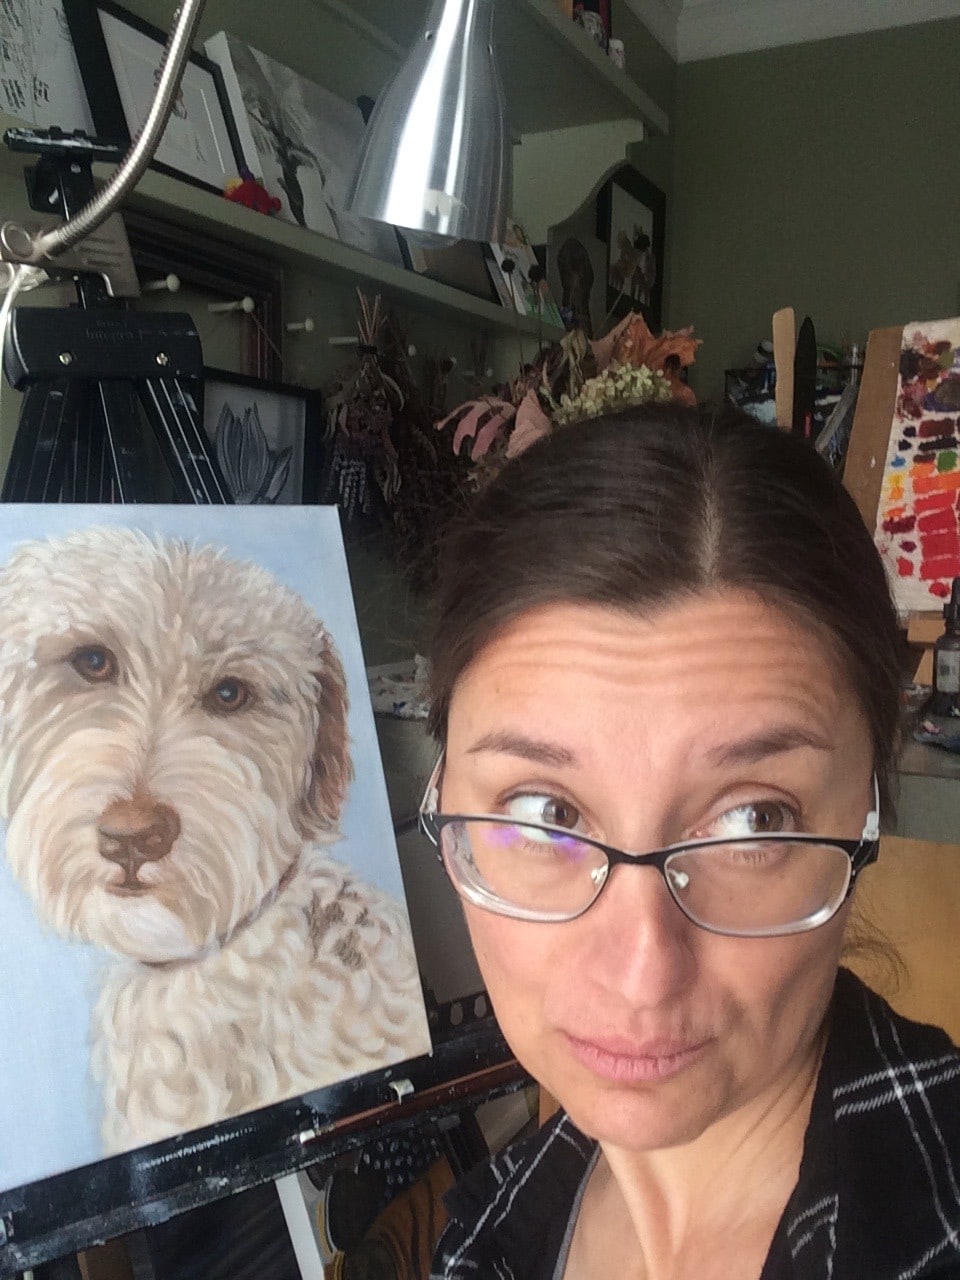
Below, is another example of a White Havanese that I painted with oils, with photos that show the progression of the painting. I have included a few videos that show some important steps I take before painting the dog itself.
If it hasn't already been done, you should apply gesso to your surface before sketching your dog with chalk or charcoal pencil. Here's a little explanation:
For this Project, THE CANVAS HAS BEEN PREPARED WITH LIQUID FIRST COAT, WHICH IS USED FOR WHEN YOU PAINT ALL IN ONE SITTING.
I prefer to block in the background color first, so that I can make the dog appear more as if it's in front of the background. It's very difficult to paint the background in around the wispy fur, if you paint the background in last.

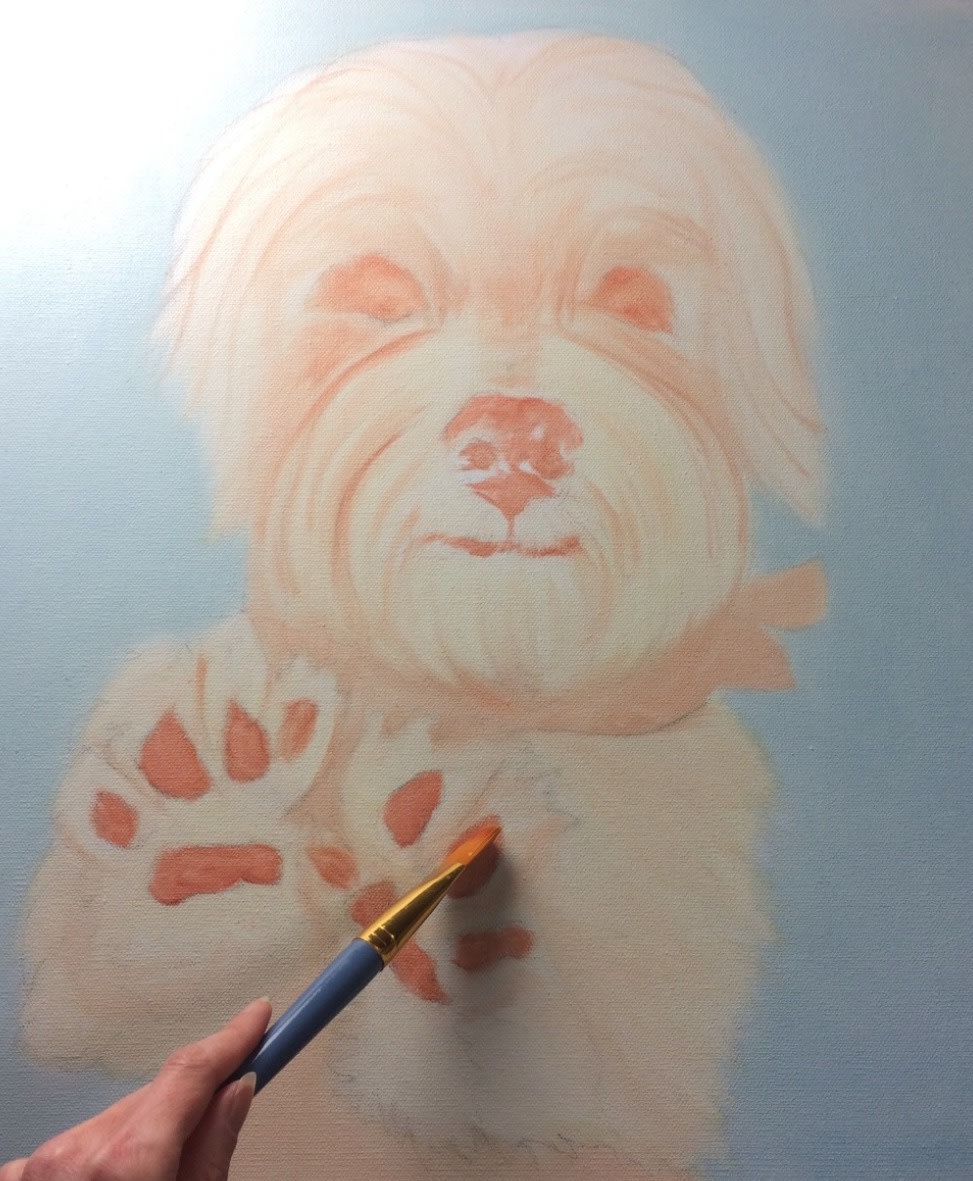
Painting a warm base coat similar to how a white dog's base coat would be in real life. Also using a warm color, in areas where the most warmth radiates out from the dog's body, helps to attain that look in the finished painting.
Starting to lay in the darker colors here.

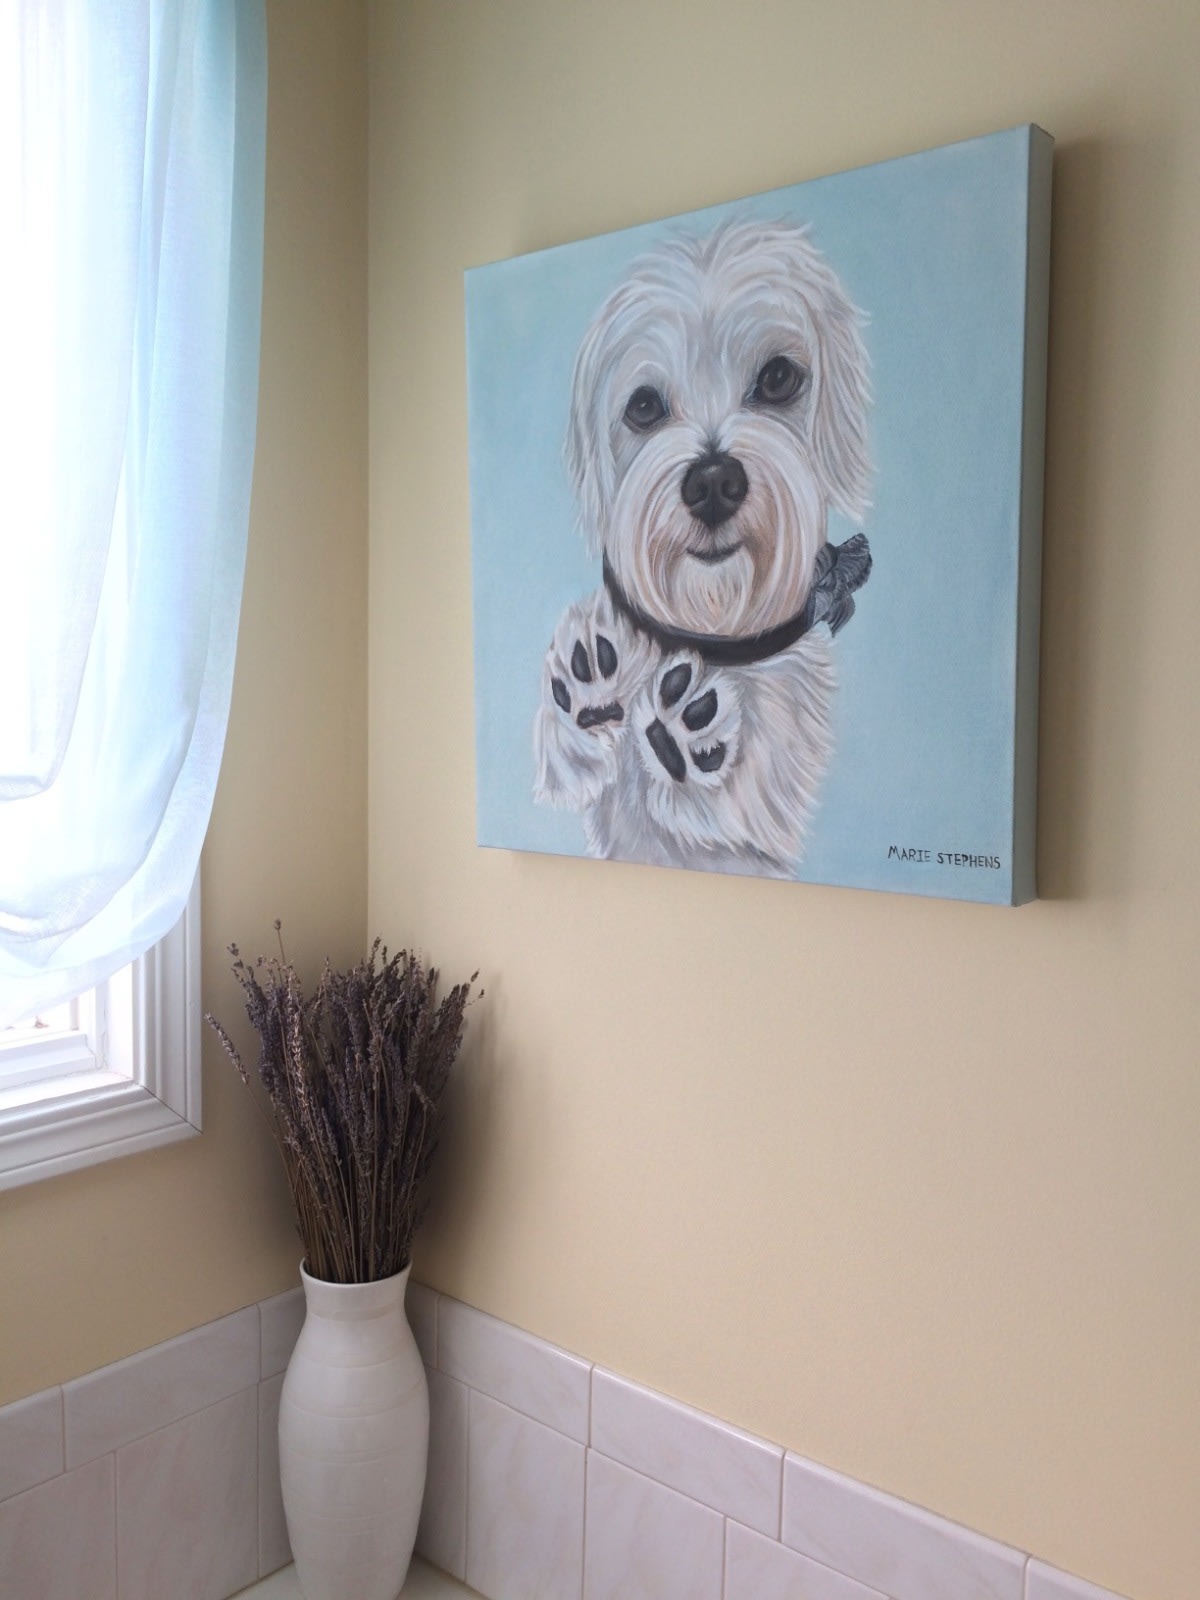
The Finished Portrait